How to Prepare Your Photos Before Sending Them for Editing
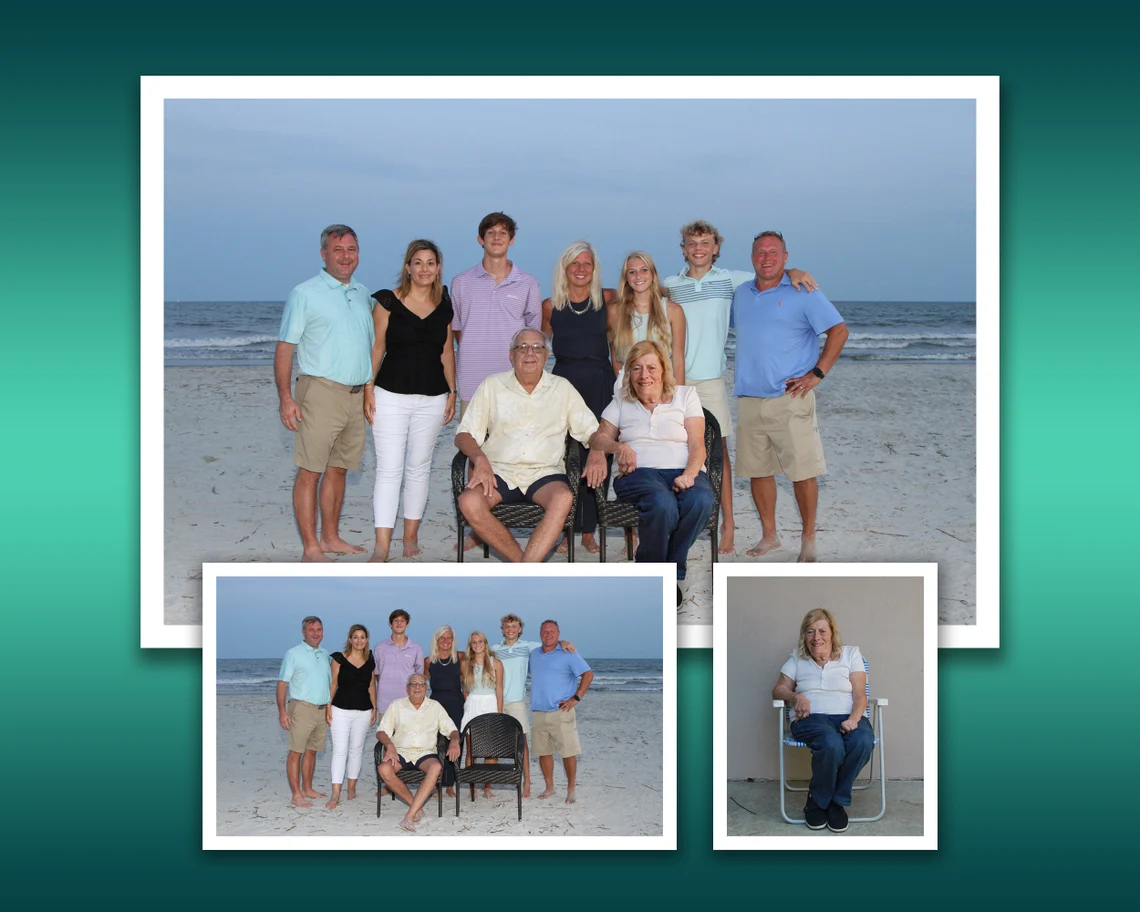
The better the starting file, the better the final edit. A few minutes of preparation saves days of back-and-forth. Use this checklist before you send your photos.
For photos from a phone or camera
- Send the original file, not a screenshot and not a copy saved from a chat app. Chat apps shrink photos and remove detail.
- If you have both a JPG and a RAW version, send the RAW as well.
- For a group photo, send the best one where most people look good, then list the faces you want swapped or fixed.
For old printed photos
- Scan at 600 dpi if you can, or at least 300 dpi. A phone photo of a print works, but a scan is much better.
- Clean the glass of the scanner and lay the photo flat.
- Do not try to tape tears before scanning. Show us the damage as it is.
Write a clear brief
- What should change?
- What must stay exactly the same?
- Where will the photo be used: print, website, social media?
- Do you have an example of the look you like?
Sending many photos
Put them in one folder on Google Drive, Dropbox or WeTransfer and send the link. Name the files so you can refer to them, for example “photo-01”.
When you are ready, see our photo editing service or wedding photo editing, and start a chat.